This is the Forest River Wildcat Max, model T266. We think it’s a really nice demonstrator for this kind of a project.
Now, item number one, you have to have power. If you don’t have power to it, there’s a lot of things that you can inspect in there. You have to make sure that you’re connected to the right sized power. If it’s a 30-amp connection, you can also test the air conditioner. If it’s only a 15-amp wire, that’s no problem. You don’t have enough power to test the AC, but you can check everything else out.
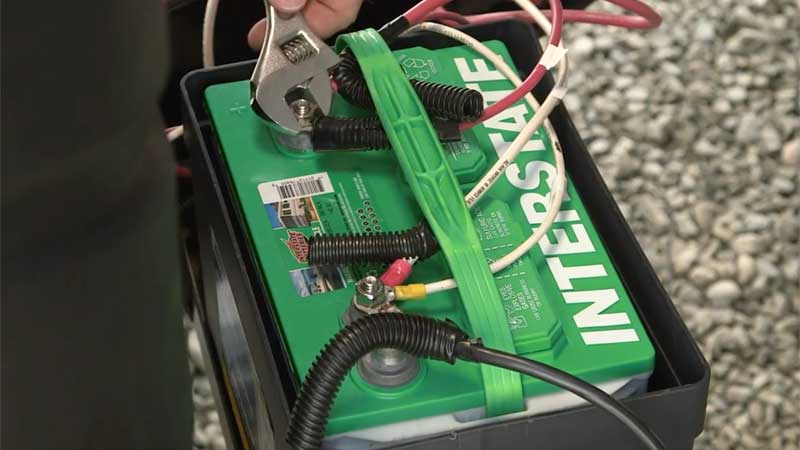
 The battery, of course, is a really important part of your trailer. Battery powers all the 12-volt devices inside the unit, so come out here, check the battery, make sure that the strap is there that holds the battery in place while you’re traveling. Check the connectors. And something to think about is, pop the caps off the battery, the cells, and check and make sure that you’ve got fluid in there. Make sure that you got a fully-charged battery.
And then, item number two here is find and make sure that you understand the function of the battery shut off switch. Now, it’s right down here alongside the frame rail.
Make sure there’s propane in at least one of the tanks. Tighten down all the fittings, and that’s an important part of your overall check when we’re on the inside.
Make sure your tires are properly inflated and that you have the right lug wrench tools to remove those tires for changing. A torque wrench works as well, but make sure you have something to be able to change the wheel.A stack of blocks and a jack aren’t factory supplied parts, but you’ll need them for changing a tire. And this is both for blocking the wheels to keep it from rolling if you’re changing a tire, make sure that you’ve got a spare, and make sure that the air pressure is where it’s supposed to be. If the tire isn’t inflated properly and you have a flat, it’s not gonna do you an awful lot of good. Also, use your lug wrench, make sure that the retaining bolts on the tire are tight.
We get a lot of viewer questions and input about the sewage and waste dump system. It’s the area that people seem to be most confused about because there’s no corollary to this at home.
This is brand new stuff if you’re new to RVing. Learn where your sewage outlet and plumbing valves are for the shutoffs or for the dump valves, and learn and understand how to use the dump connections and the hose. Make sure you’ve got a hose someplace in one of the compartments. It won’t do you much good if you get out there to a dump station and there’s no hose. Learn how to use it. It’s not that difficult, really. It’s a pretty simple system, and it’s very quick and easy to use.
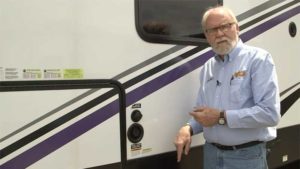
Continuing our pre-delivery, pre-drive-off-the-lot walk-around inspection, things that you may want to take a look at before you actually head out from the dealership.
 Find your freshwater fill for your fresh tank, start dumping some water in. If, while you’re filling the tank, you see water dripping out the bottom of the vehicle someplace, that means you’ve got a low-point drain open. Either you have to go underneath there and turn the knob, or find the little screw-in plug that’s designed to plug the end of the line. Now, if it’s draining and you need one of these plugs, take a look in the water heater compartment behind the access door. Frequently, the factory will set a plug like this in there with the intention that it be installed later on.
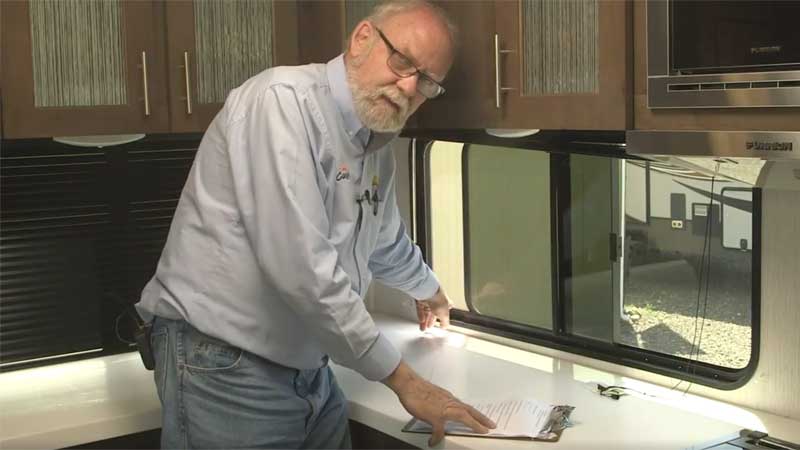
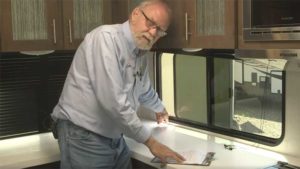
Don’t forget the interior details during your checklist walk-around. Forest River has a very nice all-in-one panel that has all the controls kind of grouped in one place. And we know that the slide-out works.
Another control that they have here is for the awning, the power awning. So, be sure and activate the power awning. Go outside, have a helper run it for you, and you go out and watch it. Make sure that you know how it works and how it’s supposed to be deployed and so forth.
While we’re talking about the slide-outs, with the side-outs deployed, test all the devices that are mounted in the slide-outs. For example, overhead lights. If you have a slide-out that happens to have a kitchen unit in it with a stove and refrigerator, that means down underneath the slide-out, there is a flexible connection of some kind, either for the propane line or for the electric. You want to make sure that those flexible lines are all in place and doing what they’re supposed to.
So, with the slide-outs open, test the stove, test the refrigerator, make sure the propane stuff works. And, while you’re here, run all the window shades up and down, make sure that those things behave like they’re supposed to.
Test all of your electrical-powered devices, and learn the locations of the control switches. Test all of your propane-fueled devices and make sure they work.
 While you’re going about checking your propane devices, something that you want to do is run your furnace. Now, this is the cool-air intake for the furnace, it’s down below the refrigerator, and when a furnace like this is brand new, the combustion chamber and the heating chamber both have manufacturing oils and whatnot on the inside. The first time that you light off the furnace, those oils are kind of being heated and blowing out of the furnace. And you wind up with this kind of an acrid smell that comes out. What you want to do is, when you get home with the RV for the first time, open all your windows, open the doors, turn the furnace on, run the thermostat up to about 90 degrees, and then leave for an hour. Just let it blast away, get all of that stink out of there, and that way, when you’re out in your campground, it won’t be there. Believe me, the smell that comes out of the furnace is not something that you wanna be stuck inside with if you’re out on a cold, rainy day and you have to be inside your RV. Get it burned out at home, and you’ll be happier when you get to the campground.
With your electrical systems out of the way, next up, check all your water-powered devices. Now, remember earlier we were putting water into the freshwater tank, and had been running it through the system and all? Well, go around, test your facets, test your outdoor shower, flush the toilet, the indoor shower, and the sinks. Make sure that all these things work, and that they don’t leak, and then, when you’re at it, take a look underneath the cabinets and make sure that you don’t see any leaks dripping around in there.
The entertainment system can be complicated and requires some extra explanation.
 While you’re making your trip around the trailer, checking to make sure all the cabinets and drawers work, test all the windows. They can be a little bit sticky at first from the factory, and sometimes, in fact, they may accidentally get a little bit of sealant or something down in the runners here. So, if it’s not working too well, take your can of WD-40 or rather, better, some silicone spray, put a little silicone spray in there, it’ll smooth things out considerably.
Now, this falls more in the category of choices and accessories. Every RV out there comes with a fire extinguisher. These cute little things, you know, they fill the bill, legally, but they’re so small, if you get a big fire, all this is gonna do is make the fire angry. This will put it out. This is a 5-pounder. They’re not too expensive, and this is the one that you want to carry with you in 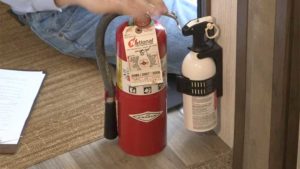 your RV.
Last item before you leave the lot, check the lights. Left turn, right, brakes.
Let’s face it, there’s a lot to an RV, especially if you’re brand new to RVing in general, but your dealer PDI guys are gonna give you a great introduction, they’ll show you everything, they’ll answer all your questions, and then, to help yourself a little further, use our Downloadable RV Checklist to follow along with them, or by yourself later on as needed.
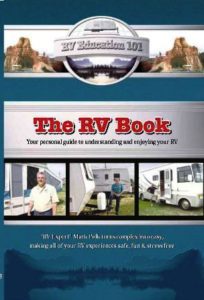 Another great source of beginner’s RVing information is Mark and Dawn Polk, who have an operation called RV Education 101. They have online streaming available for all kinds of how-to’s ranging from travel trailers, to motorhomes, to fold-downs, and so on. That’s a great source of information. Mark is also updating his RV book, which provides, for people who happen to like things in print, a printed copy of the same or similar information. Mark and Dawn Polk, RV Education 101, it’s a worthwhile resource.
Thank you for joining us on this little walk-around. We hope that you really enjoy your new RV and that you don’t have any problems at all.