Show 2020-12

RV Education 101’s Mark Polk finishes his 1967 Yellowstone Travel Trailer Restoration with part 4 and 5 – on Rollin’ On TV!

rv Restoration

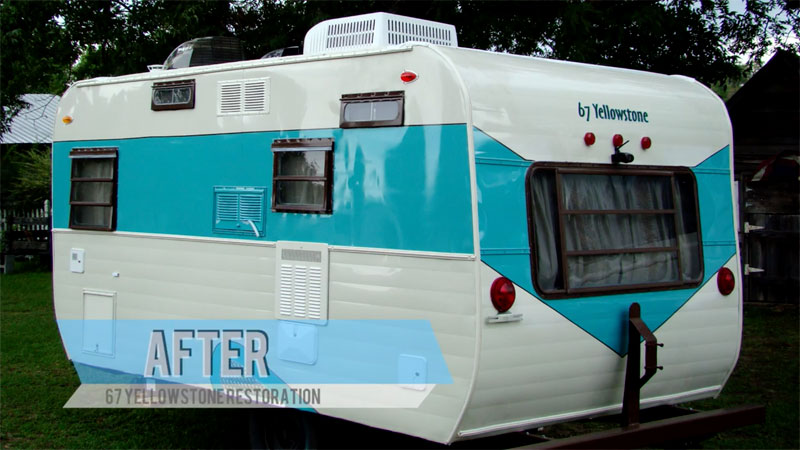
Welcome back to the vintage trailer restoration project finale. We still have lots to do on the ’67 Yellowstone so let’s start right now.

The first thing we did was connect our city water and freshwater fill to the plumbing system and tested the water system for leaks.

Don’t see any leaks at all. Everything seems to check out. So I think we’re good to go. What we’ll probably do is run some water into the holding tanks, put a little bit of weight on those and then we’ll check around the valves, make sure there’s no leaks there, and then I think we can just go ahead and move on to finishing the LP gas system and putting the metal on.

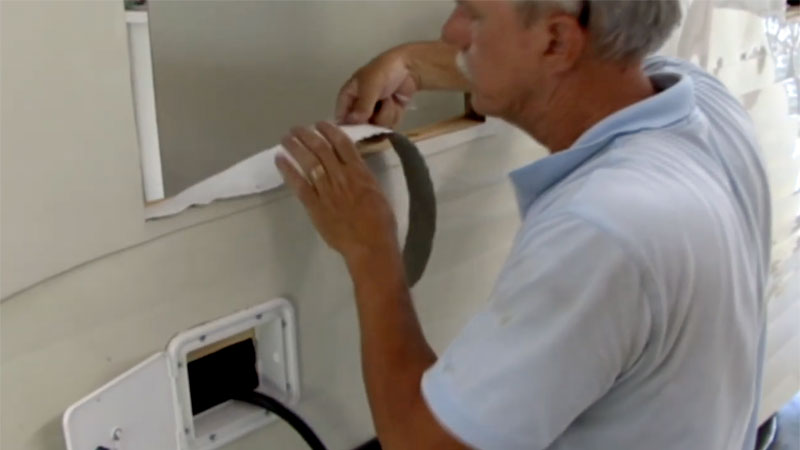
To get these corners shaped, we have to cut little tabs so we can actually bend this over and we wanna get a nice straight edge here, a nice smooth edge, so when you’re looking at it from the side, you won’t see any kinks or anything so we cut these tabs, push it over… put a staple in and, as you can see, we have some butyl tape here which is gonna seal this overlap and then we’ll put another row of butyl tape on before we put our molding on.

After the exterior metal was completed, we installed the windows, a rear back-up camera, stabilizer jack, an LP gas and CO leak detector, an electric tongue jack, and a 12-volt LED television.

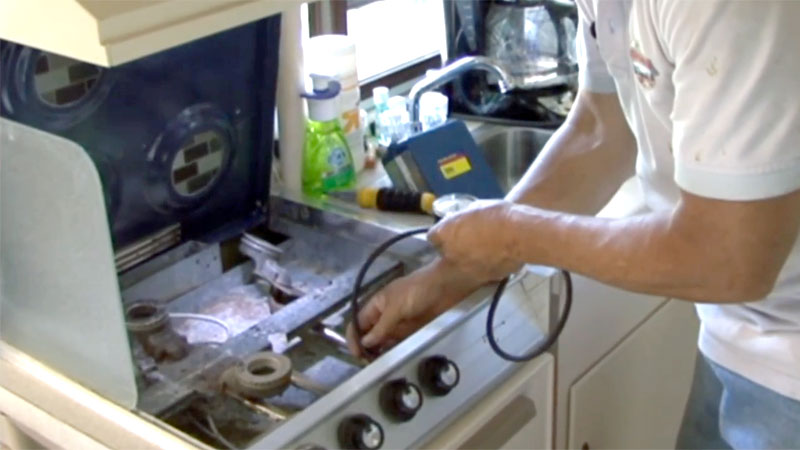
Now we can go ahead and mount our cylinder racks, our regulator, and test the LP gas system. We’ve got our LP gas cylinders turned on and I’m just gonna hook my manometer up to one of the burners. 

I’m gonna open it and you can see we’ve got perfect reading of 11 inches water column.

The big day finally arrived when the project trailer was sanded down, masked off, and painted.

I was a little concerned about using the old axle and brakes on the trailer and I thought it would be a good idea to upgrade to a new 3500-pound Dexter axle. Then I thought, “If we’re gonna install a new axle, why don’t we go all the way and install disc brakes too.” Of course, that would require an electric over hydraulic actuator to operate the brakes.

It’s a good thing I have some friends in the industry who helped me out. So, our vintage trailer project got a set of disc brakes from Kodiak, an actuator from Tucson Brakes, and a brand new set of tires.

We’ve got our axle off and I’m gonna show you what the culprit is here. If you’ll notice on the old axle, we’ve only got a 3/4-inch diameter spindle, whereas our new axle, I believe it’s a 1 and 1/16 inch diameter on the spindle. And then you’ll also notice the new axle tube is much bigger in diameter than the old axle and, combined, that’s gonna give us our 3500-pound rating on our new axle. So we’ve got the old one off, we’re gonna take a real close look at our springs and make sure there’s absolutely no problems with the leaf springs, and then we’re gonna go ahead and install our new axle.

In hindsight, I’m not sure if I would tackle a project this big again but now that it’s over I wouldn’t change a thing. It gave me the opportunity to work on a project with Tyler which was great.

He did a wonderful job seeing it through to the end.

Happy camping from Mark Polk of RV Education 101

To learn more about how to use your RV,
 
Happy RV Learning,
Mark Polk, your trusted source for RV education