RV Destinations
Michelle Gets an RV Back Up Camera Installed - Game Changer!
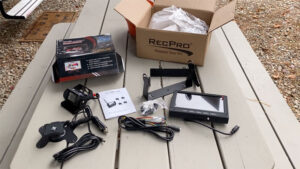
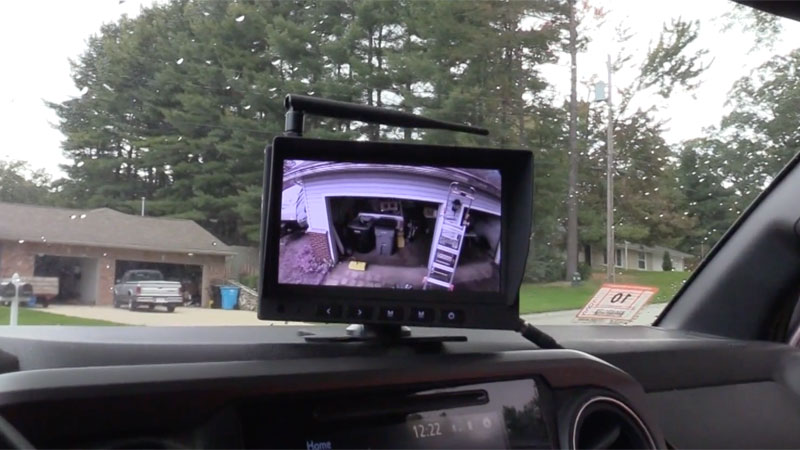
Welcome, I’m Michelle Fontaine, and I’ve been an RVer for several years. The one thing I didn’t have a lot of confidence in was backing up the trailer, so I got a backup camera from RecPro. This camera is under $300, has a 7-inch, full-color, high resolution image, it’s a digital wireless camera, so let’s get it installed.
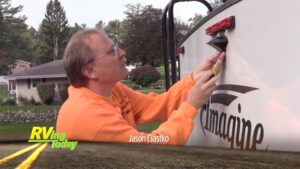
 Most new RVs come pre-wired for a backup rear camera. Today, my friend, Jason Ciastko, is going to help me. He is going to install the RecPro camera.
Jason Ciastko: We’re gonna start taking this apart, slowly, piece by piece, just to see what we have, trying not to lose any of these little-bitty screws. There’s four screws it looks like is holding this plate on. Inside of here, I have a power cord and a couple more pieces of wiring. So, this will be the power cord that the new unit will plug into, which ties into the coach lights. One thing I did notice, and this is always good to double check before you get too far in, the plug are different than on the RecPro, so what we’re gonna have to do is snip these off, shorten the RecPro, and we’re just gonna put it together with a pair of butt splices. Since the wire is so small, I’m just using regular red butt splices.
 Safety note, make sure there’s no power on these. You don’t wanna short it out to blow a fuse.
Alrighty, well, what I just did is, I snipped the end off, because they’re not standardized, and crimped on the RecPro connector. I do like the RecPro connector. It’s got a positive twist, so when we put it on, you screw it on there, you don’t have to worry about just the friction of it falling off. So, just use caution doing this, this wire is really small, and can be easily snagged and/or accidentally cut. So, take your time, work slow, work smart. Now what we’re gonna be doing is we’re gonna be mounting it up here. I’m actually gonna just use a Sharpie here and mark out where I want it with the camera still on the mount. This way, I have a better idea, so I’m just gonna put a couple quick marks right up top here, so we know where we wanna go with it. Because I wanna be able to have some nice gentle bends in it and not have pinched wires. So, going right about here will work. I’m gonna try to square this up by eye as best I can. There is an adjustment in here, so I will try to center these as we do so. There’s nothing like looking at a wonky camera angle. This would be a decent do-it-yourselfer project with some basic tools. Now I’m gonna work on getting the camera mounted on here. Put the power plug on, screw that down so we can make sure we get everything wrapped up nicely. This is the antenna wire, it’s got a little SMA antenna that will go on it, and we’ll get that worked out here in a couple minutes. Camera mounted, and then once we get the antenna on it here, we’ll be going up to the cab to get it actually synced with the Bluetooth. You’ll need to keep your ladder here, because there is a sync button on the back.
The U bracket that’s on it right now probably isn’t needed. We’ll see here in a moment. So, what we’re gonna do, this comes with some nice, super-duper, double-stick tape. We’re gonna put that on there. Peel the backing off the double-stick tape. Now remember, this is probably gonna be a one-shot deal, so let me know where you want me to put it. Hold some pressure on it, and Michelle now has a RecPro backup camera. This camera, at least on this unit itself, her Grand Design, when the marker lights or the headlights are on, the camera will be powered on that. She can have her headlights on. Me personally, when I’m towing, I always have my headlights on for safety of myself as well as visibility for other people, so this is great. She now has a camera behind her to help cover those blind spots on there. Michelle reaches over and turns off her headlights right now, you’ll see the camera will go blank. There we go.
Michelle: This has really increased my confidence, both on the road, because it eliminates blind spots in back of you, and of course backing up.

