
Mark Polk: Hi, and welcome to our RV interior upgrade project. The RV getting the upgrade is our fifth wheel destination camper at the beach. When we were looking for an RV to put on our lot, we didn’t want a brand new one for obvious reasons. What we found was an older fifth wheel that was in excellent condition for its age.
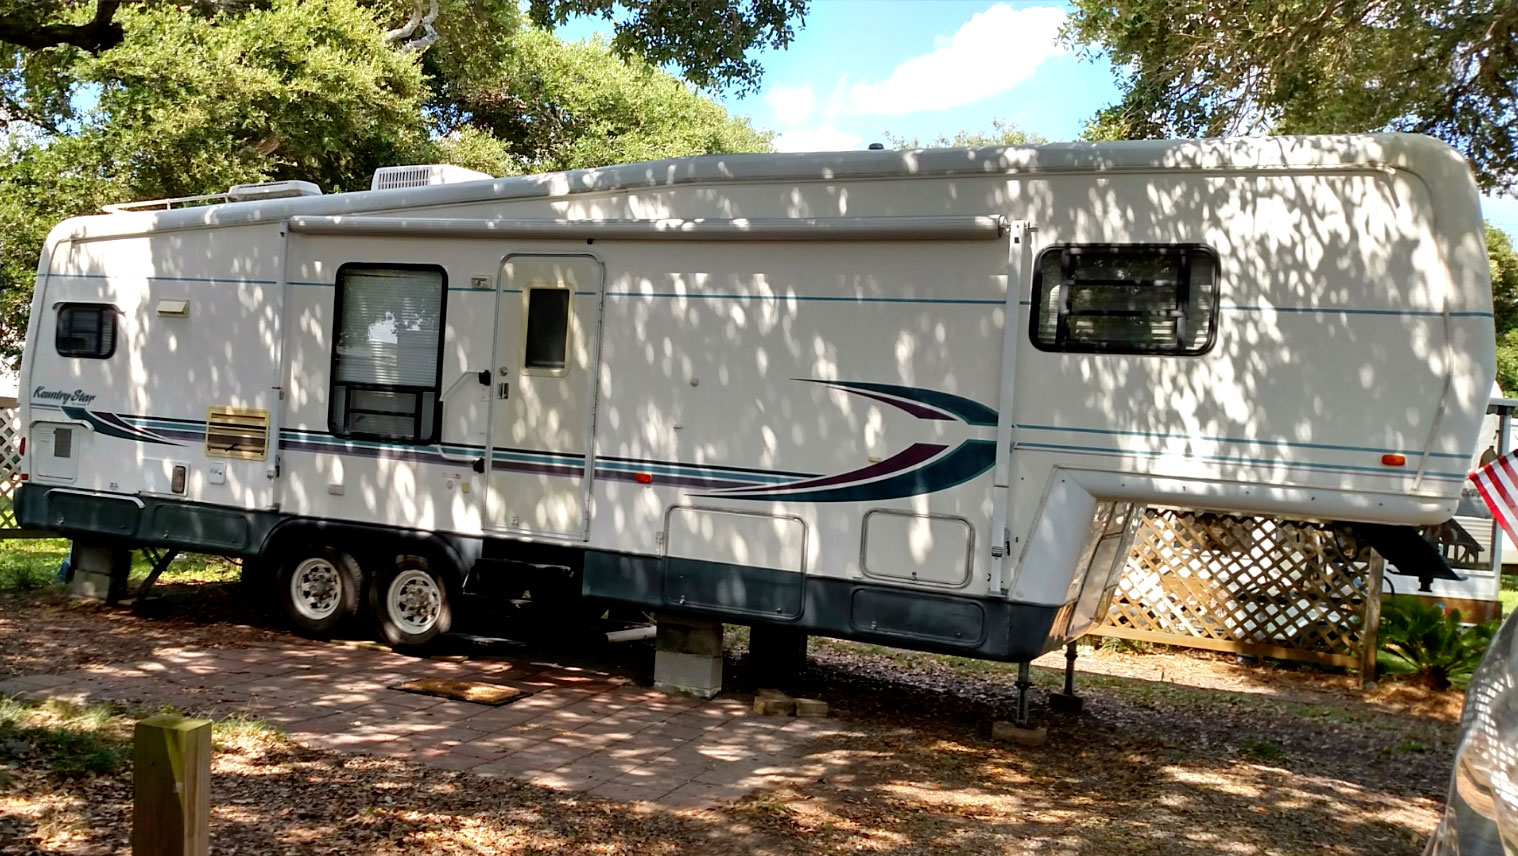 After situating the fifth wheel on our lot, we added a 10×20 4-season patio enclosure to expand our interior living space. Dawn quickly got busy furnishing and decorating the patio enclosure to give it that beachy look and feel.
The problem was the interior of the fifth wheel was showing its age. The carpet was old and worn, the window shades were outdated, and the furniture looked the way you would expect old furniture in an RV to look. Our plan is to upgrade the RV interior with a modern-day look and feel. The way we’re going to do that is by installing some new MCD American duo day-night roller shades, new Infinity luxury woven vinyl flooring, and new RecPro furniture. But before we can do any of that, we need to remove all the old furniture, flooring, and shades. That’s our plan for today.
 The first step of the interior upgrade project was to remove the old furniture and the dinette booth. That will give us better access to remove and replace the old flooring and shades, and eventually install the new products.
When you remove RV furniture, start by removing all of the cushions to see how the furniture is secured to the walls and floor. Using the correct tools, start removing all of the screws and other mounting hardware. Screws typically used in RV construction are either combination screws like this square and Philips head screw, or just a square head screw like this. Square or Robertson bits come in three sizes, so make sure you use the correct size bit to prevent stripping the screwhead or the driver bit.
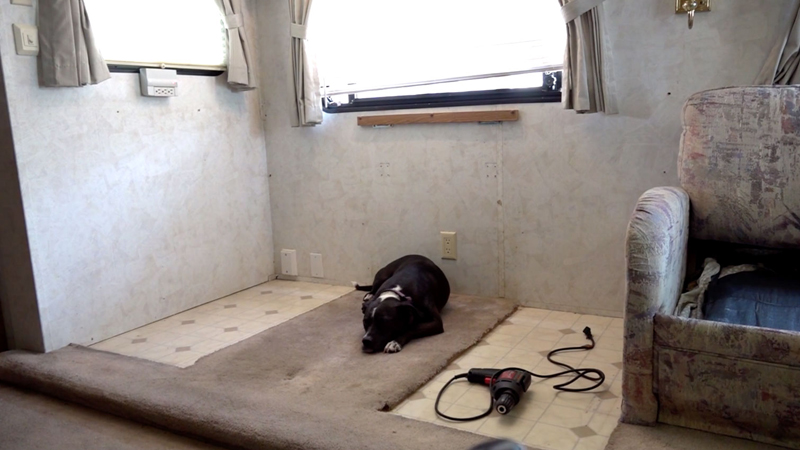
 We started by removing the dinette table for better access to the dinette booths. Some booths can be removed without taking bottom drawers out. If not, you can remove the drawers by releasing the clip on the drawer guide. Next, we remove all the screws securing the booth to the wall and floor. Then we remove the dinette booth. Roxy was concerned about what was happening to her favorite bed under the dinette table.
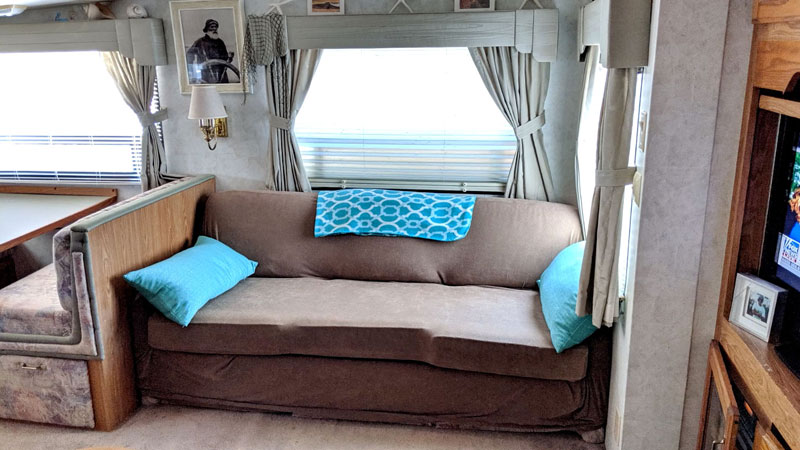
With the dinette removed, we can start on the sofa. This is a hide-a-bed, so you need to position it where you have access to the mounting hardware. Next, I remove the bottom skirt panel for better access under the sofa. Remove all the bolts and mounting hardware securing the sofa to the floor. To make it easier to get the sofa through the entry door, I removed the bolts securing the back of the sofa to the frame. Now, we can remove the sofa. The recliner is freestanding without any mounting screws, so it was easy to move out of the room.
Dawn: With all of the furniture removed, we can start removing the old flooring. Our plan is to use the old flooring material as a basic template to cut the new flooring, so we need to be careful taking it out. Let’s see what’s involved with removing the old flooring.
Mark: Tools that are helpful include a razor knife, a staple puller, and a pair of pliers. When you remove carpet, there are tack strips securing it to the floor and lots of staples. After a piece of carpet is loosened, you can pull it away from the floor
one section at a time. I planned to use the carpet from the steps as a template too, so I was careful removing it. It might appear that carpet goes under base cabinets, but if you remove the bottom trim, there is a good chance the carpet does not go under the cabinet. We decided to replace the old wood flooring too, so we removed it.
I mentioned I am using the old carpet as a template, but for areas of the room where there wasn’t any carpet, I need to make a template of that space. I used an old roll of laminate floor underlayment to make the templates, and I made some notes so we would remember where it goes when we prepare to cut the new flooring. With everything removed from the floor of the RV, we can prep the floor for our new flooring. First, we need to remove all of the staples from the floor. Let’s see how that goes.
Mark: Preparing the floor surface for installation. You can use a staple remover or a pair of pliers. Be careful working on your hands and knees, the staples are very sharp. The floor must be smooth, clean, flat, and dry with no dirt, dust, wax, glossy paint, or any foreign materials. Fill in any cracks, knots, or other uneven surface areas using a latex fortified product. After it dries, sand any uneven surfaces smooth. Glossy or metallic surfaces need to be sanded to a dull surface. The last step in the preparation is to clean the floor surface thoroughly. The wood must be clean for the new flooring to properly adhere to the floor. It was a messy job, but now we can start on the fun stuff, installing the new interior products.
 Today, our plan is to remove the old curtains, mismatched blinds, and the pleated shades in preparation for installing the new MCD American duo day-night roller shades. With this installation, we are keeping the original valences, but removing the rest of the window treatments. The first thing we need to do is remove the old curtains and rods. There’s not much space between the wall and the valence, but if you reach up and raise the curtain rod at both ends, the rod will come off.
Next, we remove the old shades from the five windows we are installing the new MCD shades on. The shades are secured using clips, so all I need to do is put a screwdriver behind the shade where the clips are located and it pops right off of the clip. With the shades removed, now you can remove the screws from the shade tensioners and remove any remaining hardware. The MCD roller shades are custom-made for your RV. After following the measuring instructions, your custom-made MCD shades arrive in no time. We selected the American duo day-night roller shades. The MCD day shades offer excellent outward visibility and daytime privacy, and all nighttime shades are comprised of 100% privacy and blackout shade materials.
The shades are available in a variety of styles and colors to complement the interior design. Let’s start installing some MCD roller shades right now. MCD roller shade installation. MCD Innovations, a division of Airxcel, is the world’s largest manufacturer of RV window shades. MCD offers a good selection of day solar screen material, and night vinyl or decorator fabric. To complement our new flooring and furniture, we selected the coffee solar screen day shade and the country stone night shade.
Start the installation by mounting the clip to the top of the valence. For best results, the shade should be located as close to the glass as possible, typically 3/8 of an inch away from the window frame. But do not mount it so close that the shade can get caught on anything when it’s lowered. The outermost clip should be mounted within two inches from the end of the shade assembly. Mounting clip tabs should be located towards the inside of the coach. Installation screws are not provided due to the variations in requirements. MCD recommends using number eight pan head sheetmetal screws. The most common length is one inch, but may vary due to the needs of your particular installation. Center the shade assembly, check for proper orientation, and attach it to the mounting clips. The shade assembly is mounted to the clips by placing the outside edge of the assembly rail into the clips and rotating the shade towards the clip tabs to firmly and solidly snap the mounting rail into place.
In most American duo installations, the clear view solar screen should be located closest to the glass. The night material should be closest to the inside of the coach. Installation tips for proper operation of the shades. The shade must be level. Solid spacers of the appropriate thickness placed under the mounting clips may be necessary. The shade may not bind to anything throughout its entire range of travel. Proper operation requires clearance around all sides of the shade in the upper position. The shade assembly should be evenly spaced left to right, and/or mounted so that it covers as much of the glass as possible when lowered. Repeat the same process on the remaining windows.
Dawn: The MCD American duo roller shades were the perfect addition to our RV interior upgrade project. Now, heat and UV rays from the sun is reduced, we have daytime privacy and nighttime privacy, but we can still see out. And look how easy they operate. For more information on the American duo roller shades, visit mcdinnovations.com. With one-fourth of our RV interior makeover completed, join us next time when we install whitewash wood planks on two accent walls in the RV. And remember, when you want to learn more about using and maintaining your RV, visit rveducation101.com.
Happy camping,
Mark Polk
To learn more about how to use your RV,
check out our e-book training courses and video training courses available at rvonlinetraining.com
Happy RV Learning,
Mark Polk, your trusted source for RV education
RV Education 101®