Welcome back to Part 2 of our camper van renovation series, dubbed “The Ram Camp Project.” In Part 1 we finished all the mechanical work on the van, making sure it was safe for travel. Today, we’re gonna start on the van’s interior by roughing in our 12-volt and 120-volt wiring and our hot and cold plumbing lines. It’s important we get this right because after the walls and the ceiling are installed, it would be difficult to add more wiring or plumbing. So the first thing we did is decide how the van’s interior will be laid out. After we knew where everything was located, I made a basic schematic of the wiring and plumbing for our Ram Camp Project. As you can see, I made a few revisions as to what will go where in the van, but I think we finally have it figured out. Let’s get busy.
To help determine where things will go and what wiring and plumbing requirements we have, I purchased an inexpensive computer program that allows you to design the van’s interior and exterior. After several different scenarios based on measurements, we had a floor plan. Then I moved it from paper to the van to make sure everything would fit. I wanted to finish any welding on the interior of the van prior to running any wiring or plumbing. I welded some extra bracing in for the walls and I welded part of the bed frame in the van.
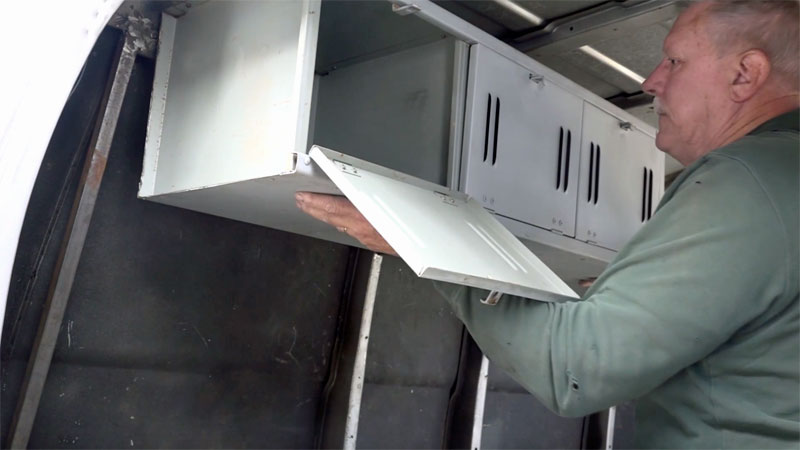
 We’re gonna use this old gym locker as the overhead cabinet in the van. First step is to sand it and prep it for paint. Then I’m gonna weld a couple brackets on the back, weld the other brackets on the ribs that come down the walls on the inside of the van so we can mount it, and then I’ll put some screws into the ribs to attach it permanently so there won’t be any movement while we’re driving down the road.
 Now, if this was the exterior finish on an automobile, you would continue sanding with a lighter grit sandpaper. You would use some Bondo to fill in any small dents or scratches. You would do a final sanding, then you would prime it, sand it, and paint it. But since it’s just gonna be some overhead cabinets in the van, I’m sanding it with 120-grit sandpaper, and then I’m gonna prime the areas where you can see metal through the paint so we protect that surface until we can paint it with the final color.
After that, I welded the brackets designed to support our overhead cabinet on both the cabinet and the upper wall, and I welded a rear brace in to level and attach the cabinet to the van wall. With that completed, we started on the wiring. When you start a wiring project like this, you first need to determine where the 12-volt and 120-volt wires need to be routed, and then determine how many circuits there are and what the load requirements are. This is necessary so you can select the proper sized power center for the job. We reached out to our friends at WFCO to help ensure the loads are calculated properly and to make sure we get the correct equipment. Our plans also include an inverter with solar for dry camping. Our friends at WFCO showed me the proper method to determine the correct converter size. The first step is to determine the total 12-volt and 120-volt amperage requirements for the project which, for ours, adds up to 50 amps. The first 20 amps is calculated at 100% for a total of 20 amps. The next 20 amps are calculated at 50% for a total of 10 amps. And the remaining amps are calculated at 25% for a total of 2.5 amps. That gives us a minimum required converter output of 32.5 amps. We rounded that up to a 35-amp converter. To determine the power center size, you look at how many 12-volt and 120-volt circuits there are, but you must also consider the inverter. We wanted to have two or three 120-volt outlets available with the inverter, so WFCO recommended either the WF-8945AD or the WF-8955AD power centers. We decided on the 8955AD because it will charge the battery faster than the other model.
 Speaking of batteries, we have an awesome 12-volt 250-amp-hour lithium battery from Go Power. Yes, I said 250-amp-hours. Unbelievable. And speaking of charging the battery, a great feature with this converter is WFCO’s new battery-charging technology called Auto-Detect. Auto-Detect is a new patent-pending technology available from WFCO. It detects lead acid or lithium ion batteries and automatically changes the charging profile according to the type of battery it is. Lead acid, AGM, and lithium-type batteries all require different charging requirements.
Dawn: So we’re good to go with charging our huge lithium battery when we’re plugged into electricity. When we aren’t plugged in, we have this Eclipse 190-watt solar kit with a second Eclipse 190-watt expansion panel to handle charging the battery. And we have this 2,000-watt converter from our friends at Go Power.
Mark: We have lots of wiring to do on our Ram Camp Project van. I have two concerns about the 12-volt and 120-volt rough-in wiring. One is to make sure we run wiring to all the correct locations and don’t forget anything. And two is keeping the wiring protected from any possible damage. To deal with my first concern, I made a list of every 12-volt and 120-volt component going into the van build. Then I took a Sharpie and tape and wrote the approximate location of every 12-volt and 120-volt component inside and outside the van.