
Mark Polk: Water damage is one of the biggest problems RV owners are confronted with, and the RV roof is where most of the water damage happens. Lots of RV owners never go up on the roof of their RV, and that’s okay, as long as you have somebody periodically cleaning the roof and inspecting all the seams and sealants.
 Today we want to show you what you can do to maintain the roof of your RV. Safety first. Be extremely careful whenever you are working on your RV roof. When you clean the roof, the surface is slippery and there are lots of obstacles you can trip over. Keeping debris like leaves, tree sap, and branches off the roof will help extend the life of the roofing material. If possible, try to avoid parking the RV under trees. The sun and UV rays can also damage components and sealants on the RV roof, especially over time. If your RV is not stored inside a building or under some type of shelter, you may want to consider purchasing a cover for the RV when it’s in storage.
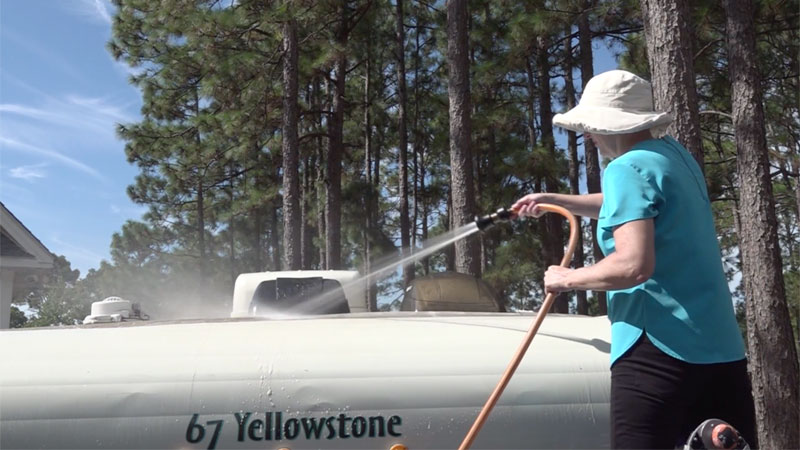
Cleaning the RV roof. If the RV roofing material is rubber or vinyl, do not use any cleaners or conditioners that contain petroleum solvents, harsh abrasives, or citrus ingredients. Most manufacturers recommend products to use when you clean the roof’s surface. Usually, a medium-bristle brush and a non-abrasive cleaner will do the job. For light cleaning, you can use warm water with a mild detergent like Dawn dishwashing liquid. For more difficult cleaning, and to condition and protect the roof, there are commercial cleaning products designed specifically for the type of roofing material your RV has. Hard-to-clean areas like stubborn stains caused by leaves, sap, or mildew may require a second treatment. We personally use Dicor roof-cleaning products. You can walk on most RV roofs, but you should check the RV owner’s manual first. When in doubt or in the case of a small RV roof, you can use a ladder to do the roof cleaning and inspecting.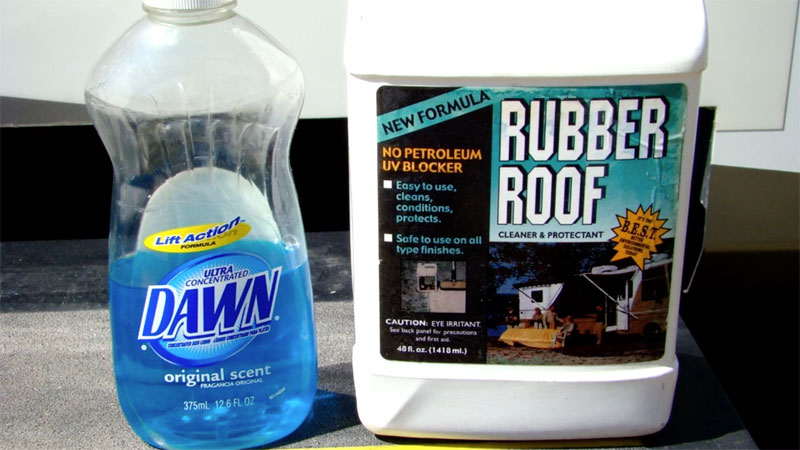 Mark: On larger RVs, it’s easier to work directly on the RV roof. Start at the front of the roof and work your way to the back. Keep in mind that the roof surface can be extremely slippery when using soap and water. Also pay attention to obstacles on the roof like air conditioners and vents protruding from the surface. Always rinse the sides, front, and back of your RV before and after rinsing the roof to prevent cleaners from streaking or damaging the graphics and finish on your RV side walls. It is best to have a helper on the ground to continue rinsing the RV.
Inspecting the RV roof. Cleaning the roof is only part of the RV roof maintenance. Every time you clean the roof, you need to inspect the sealants around all the openings and all the seams on the roof. Water will take the path of least resistance, and if there’s the smallest opening, it will find it. You need to thoroughly inspect the roof sealants for any potential leaks, and reseal any areas of the roof seams and around openings where you suspect a leak. Inspecting all the sealants and resealing suspect areas can help prevent expensive repairs caused by water damage. I recommend getting on your hands and knees and thoroughly inspecting the sealants. You must look very closely for any small cracks, gaps, and loose or aged sealant.
 Sealing the RV roof. If you identify any seams or sealants that could potentially leak, it is important to use the proper type of sealant to make the required repairs. The wrong type of sealant can damage the roofing material, not seal properly, and possibly void the manufacturer’s warranty. Consult the owner’s manual or an authorized RV service facility for the type of sealant to use. If you identify any water damage to the structure of the RV during your routine inspections, have it repaired immediately. Make sure the roof is clean and dry where you plan to reseal the roof, and use a caulking gun to run a bead of caulk wherever you suspect a potential leak.
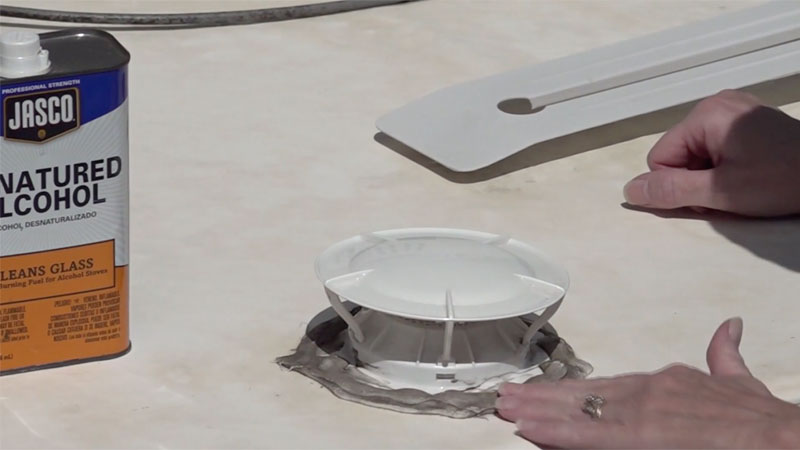
RV 101 tip: you can use denatured alcohol on a clean rag to clean and prep the area prior to resealing. Do not saturate
the roofing material with the alcohol. In addition to inspecting the roof seams and sealants, you need to inspect the roof vents, plumbing vents, and the refrigerator vent for cracks, damage, or obstructions. Any cracked or broken components should be replaced immediately. Inspect the air conditioner shroud for any damage and for secure mounting. To help protect the roof vents and to use the vents in any type of weather, I recommend installing vent covers over the roof vents. They are inexpensive and easy to install. If you have vent covers installed over the roof vents, you can leave the vents cracked open during storage for circulation and cross-ventilation in the RV’s interior. If you are not comfortable installing the roof vents, have the work done by a reputable RV service facility. If you are not comfortable with the idea of working on the RV roof, make an appointment with your local RV dealer to have the work done. Remember, routine cleaning, inspecting, and resealing your RV roof can add years to the life of the RV roof and help prevent costly repairs caused by water damage.
Happy camping from Mark Polk of RV Education 101