
Hi, I’m Mark Polk, and I would like to welcome you to this product installation video presented by United Shade. The product is this dark-out kit, a do-it-yourself kit that transforms the existing pleated shades in your RV to blackout shades for optimal privacy. This dark-out kit is a great solution for bedroom and living quarters to create a darkened private space.
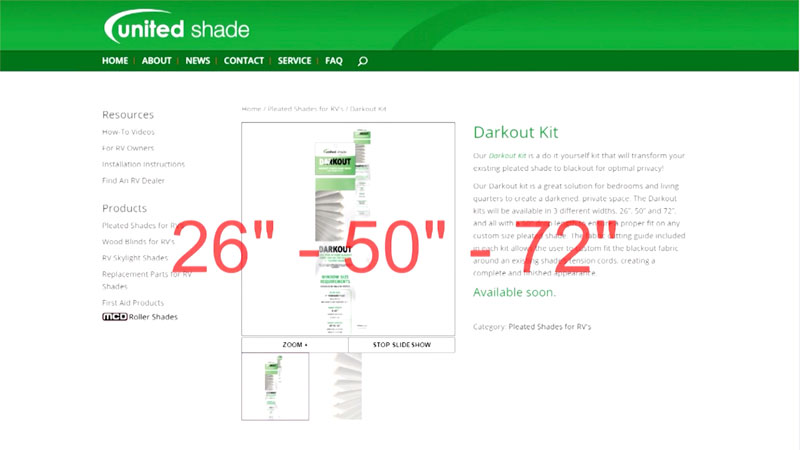 The dark-out kits are available in three different widths: 26″, 50″, and 72″ and all with a 50″ drop length to ensure proper fit on any custom-sized pleated shade. Let’s install a dark-out kit right now. Prior to starting, completely review and understand the directions. See UnitedShade.com for additional information.
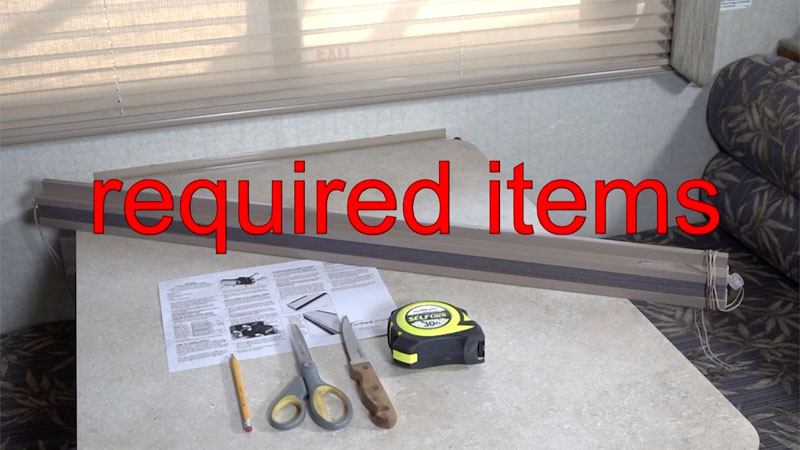 Required items: scissors, kitchen steak/utility knife, tape measure, pencil, and existing pleated shade. Start by removing the existing pleated shade. Remove the screws from the cord retainers at the bottom of the window. Next, remove the shade by unclipping the brackets or removing screws from the top rail. Set any screws aside for reinstallation. Place the existing shade on a clean, dry, flat work surface, with the back of the shade that faces the window side up. Note, blackout fabric will install on the back of your existing pleated shade. Trim to correct drop length. Determine the drop length of the blackout fabric needed by counting the number of pleat peaks, not valleys, on your existing shade. With your blackout fabric white side up and both tails at each end of the fabric pointing up, count a drop length of the same number of pleat peaks.
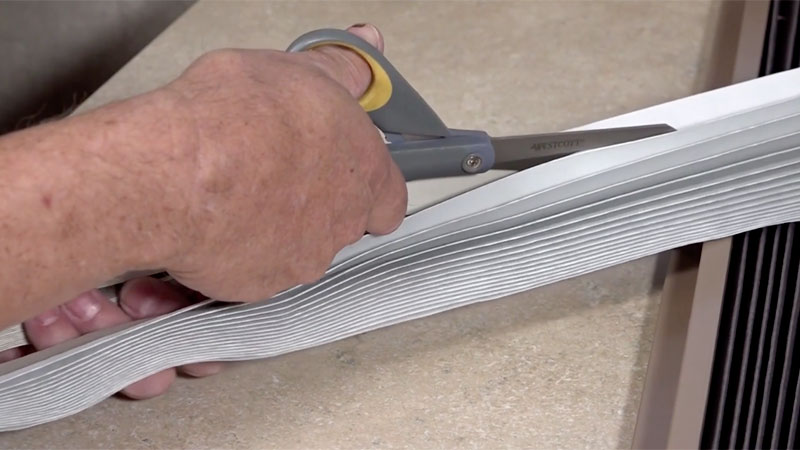 Using scissors, cut along the pleat peak of your blackout fabric. Trim to correct width. Determine the width of the blackout fabric needed, using a tape measure to measure the width of the existing shade. With the blackout fabric folded, compressed together and tan side up, measure the same width from the left side of the blackout fabric and mark with a pencil. With the fabric still folded together and tan side up, take the provided cutting guide plates and place on either side of the blackout fabric. Align fabric between the top and bottom holes on each plate. Secure using the provided bolts and wingnuts. Align the edge of the cutting guide plate with your pencil marking and cut using a kitchen steak knife. Notch fabric to fit around cords. Determine where cord notches will need cut in blackout fabric by measuring from the left edge of your existing pleated shade to the location of the first cord. With the blackout fabric folded together and tan side up, measure the same distance from the left edge of the blackout fabric and mark cord location with a pencil. Measure and mark all remaining cord locations. Depending on size, there may be two or four cords in your existing pleated shade.
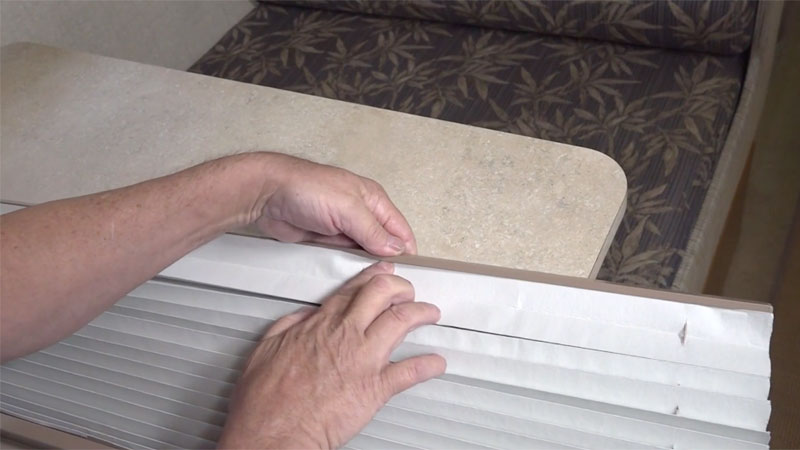
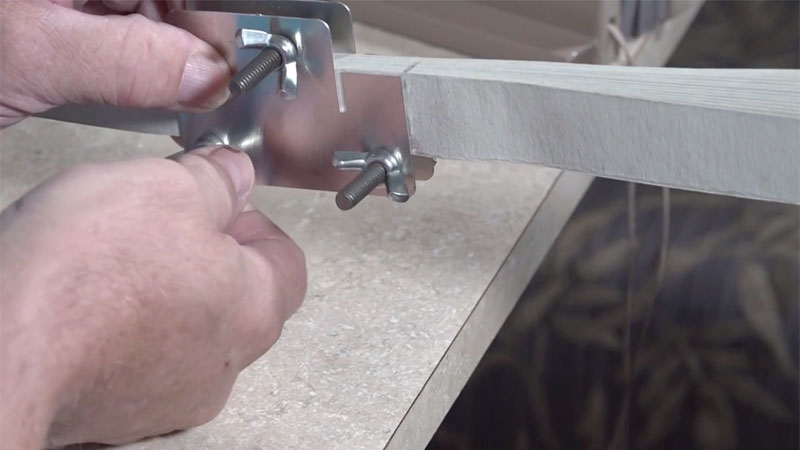 To figure blackout fabric around existing pleated shade cords correctly, use the fabric cutting guide and align each pencil mark with the notched slot in the fabric cutting guide. Using your kitchen knife, carefully slice through the pleats on the tan side of your blackout fabric. Be sure to cut to the bottom of the notch in the template guide. Reposition the template and repeat this procedure for the remaining cord locations. Secure blackout fabric to the shade. After all four notches are cut, unfold your blackout fabric; and with the white side up, position the blackout fabric, tan side down on the top of the existing shade. Press and weave the blackout fabric into the pleats of the existing shade. Work the slots that were cut into the blackout fabric around the cords in the existing shade. Blackout fabric may not rest flush against the existing shade until the entire blackout fabric is weaved into place.
Once the blackout fabric is positioned in place, push the shade closed by gripping and pressing the head rail and bottom rail. While holding the shade closed with one hand, pull the tension cords tight on the left and right sides of the shade. Next, gently work the entire shade open and closed to fully work the cords into each notch made in your blackout fabric. Once you have weaved in your blackout fabric, secure both tails of the blackout fabric to the first and last pleat of your existing shade by distributing the foam double stick tape squares provided along the blackout fabric tails. Distribute half of the squares provided across the top tail and the remaining half along the bottom tail.
 Remove the backing on tape pieces and press blackout fabric in place on existing pleat shade. Once blackout is secured in place, tuck any remaining fabric tail into the top and bottom rails.
Now just follow the instructions to properly reinstall the pleated shade. That’s all there is to turning the existing pleated shades in your RV into private blackout shades. For more information about the dark-out shade kit, or shades in general, visit UnitedShade.com.
Happy camping from Mark Polk of RV Education 101