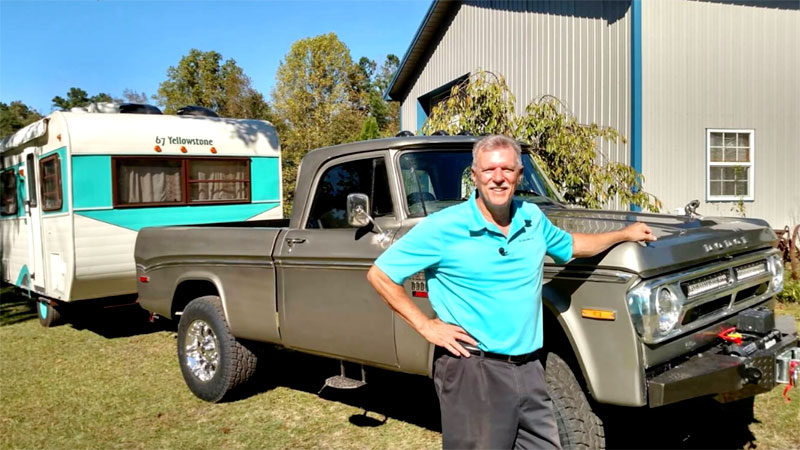
 Hi, I’m Mark Polk, with “RV Education 101.” If you are a classic car and truck enthusiast like me, you are probably already familiar with Steele Rubber Products. They have been making and supplying auto weatherstripping seals and rubber parts for classic automobiles for 60 years.
The good news for RV owners is now they are doing the same for RVs. Steele Rubber Products offers a wide selection of RV seals and weather stripping for all types of RVs, and they are just in time because I discovered a damaged seal on one of my exterior storage compartments.
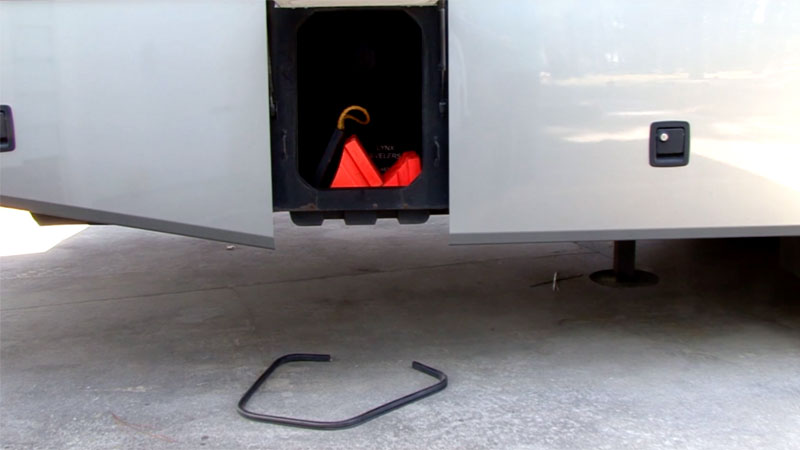 Let me show you how easy it is to not only identify the type of replacement seal you need, but how to install it too. The first step is to identify the type of seal you need. There are sponge rubber seals like this and there are dense rubber seals like this. Some are simple push-on-type seals, some are peel and stick, and others require some type of adhesive. You can see here our damaged seal is dense rubber with a bulb seal and it has a metal core inside.
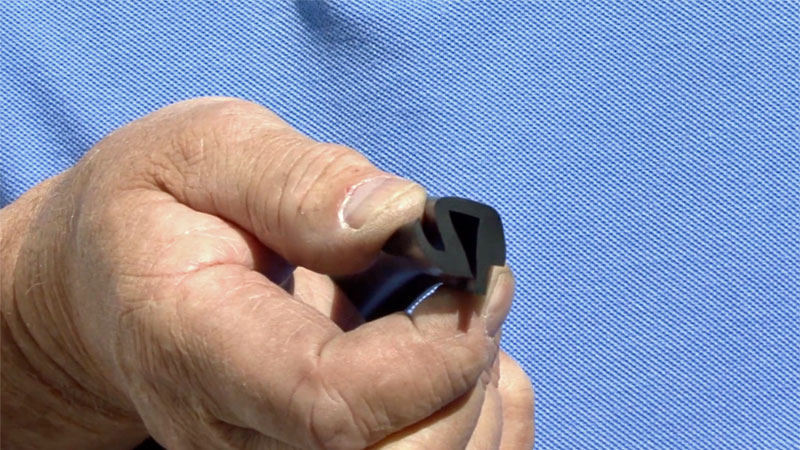 Another important step in identifying replacement seals for your RV is to look at the profile of the seal. What I mean is, you look at one end of the seal to see how the seal is shaped. The profile helps identify the replacement seal.
Armed with this information, you can go to the Steele Rubber Products’ website, click on the RV tab, then you have the option to search by suggested use of the seal or by the material and application. My damaged seal was a compartment door seal so I click here. Now, there are three selections for the type of seal it is. My damaged seal was a push-on-type seal so I click here and I have a variety of seals to choose from. It’s important that you match the sizes of the seal as close as possible. If you order a seal that is too thick or not thick enough, it won’t work like it should.
 This side-bored push-on seal is close to my original seal so I click here and I can verify the measurements and order the new seal. If you locate a replacement seal that will work for your application, make sure you take accurate measurements for the length of the seal you need. If you cannot find the replacement seal you need, you can call or email Steele Rubber Products directly. They might have some samples of seals they can send you or you can send them a good picture of the profile of the seal you want to replace and they will try to assist you. Now, let’s install our replacement seal that just arrived in the mail. This is an easy installation. It is a small exterior compartment and the seal is a push-on type. With the bulb facing out, start at the bottom middle of the compartment and work your way around the opening, pushing the seal down for a good tight fit. Continue going around until you get to where you started. Trim the seal so it fits snug against the opposite end.
That’s all there is to it. It’s a good idea to include all the rubber seals on the RV in with your routine inspections of other seams and sealants on the RV. If you catch a damaged seal early, you can prevent problems like water damage to your RV.
For more information take a minute to visit www.steelerubber.com and take a look around.
Happy camping from Mark Polk of RV Education 101