
Hi, I’m Mark Polk with RV Education 101. If you have an aging EPDM roof on your RV like this one, you won’t want to miss this video. Your EPDM roof is exposed to harsh elements like the sun’s damaging UV rays, rain, hail, snow, and wind blown debris, which can lead to stains and other discoloration taking place on your roof. And when the roof membrane approaches that 10 to 12 year old mark, it has been through a lot. Replacing your EPDM roof can be labor intensive and expensive. In many cases, if your roof is sound and watertight, you don’t need to replace it. However, you do want to get rid of those stains and discoloration. Today, we’re going to discuss how you can add years of life to an older EPDM roof membrane and restore it to that new look to your RV roof’s surface at an affordable price. The way we’re going to do this is with Dicor’s EPDM roof cleaner activator, and Dicor’s acrylic roof coating.
 Let’s get started right now. Dicor’s EPDM roof acrylic coating is designed specifically for EPDM roofing material. Dicor’s EPDM roof coating system can also be applied to TPO roofing. Caution, be extremely careful when working on the roof of an RV. Dicor’s EPDM roof acrylic coating is a two part commercial grade system. The EPDM roof cleaner activator repairs the roof, while the acrylic coating provides an excellent, long lasting protective barrier. Note the entire project must be completed in one day, including cleaner activator application, rinsing, and two coats of acrylic coating, each dry to the touch. The first step is to secure plastic sheeting over the entire side walls, and front and rear caps using tape to secure the plastic in place. This will protect these areas from the dirt and other material that will be removed from the roof while rinsing off the EPDM cleaner activator.
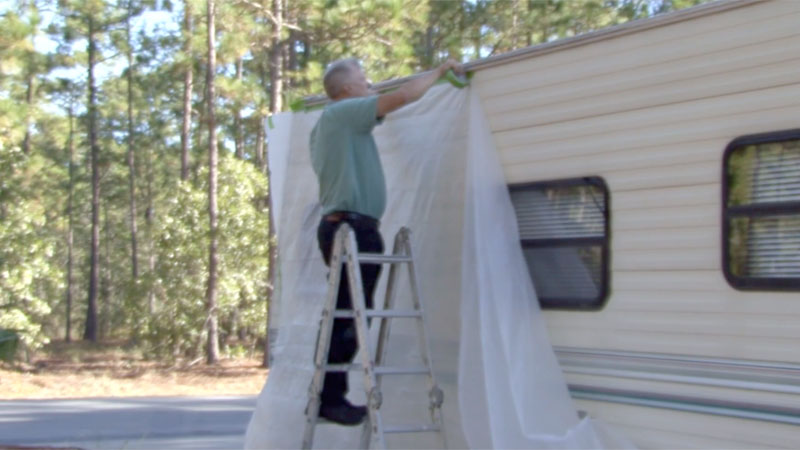 Make sure the surface is dry before applying the tape. If the EPDM cleaner activator contacts any surface other than the roof or the items installed on the roof, it needs to be rinsed off immediately. Next, remove any heavy deposits of dirt, leaves, pine needles, and other debris using a broom or air blower.
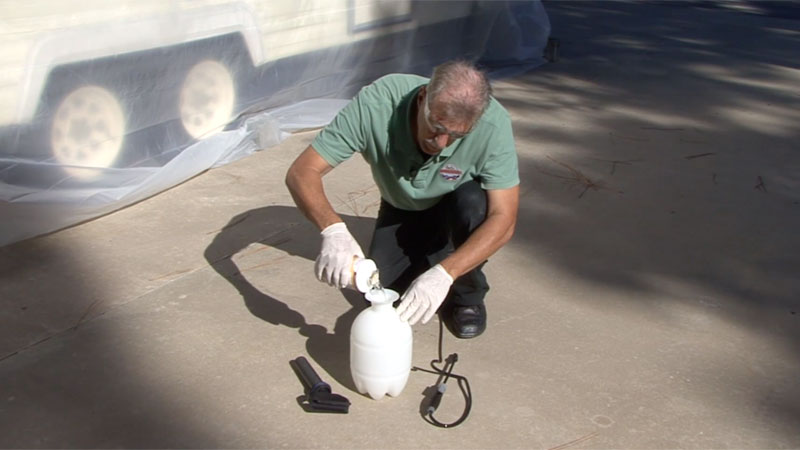
The EPDM cleaner activator can be applied directly over EPDM surfaces containing residual amounts of dirt, dust, and other contamination. Do not wash the roof prior to applying the EPDM cleaner activator. It can be applied using an agricultural type sprayer. Safety glasses with side shields and latex gloves are recommended when transferring the EPDM cleaner activator from the shipping container to the sprayer. Spray a coarse mist that leaves the roof damp. Adjust the spray for weather conditions as necessary. If the EPDM cleaner activator is running off the roof, you are using too much. Adjust the spray nozzle to achieve a uniform spray pattern. Allow the EPDM cleaner activator to stand a minimum of 15 minutes to wet out and react with the EPDM surface. Next, rinse the entire roof surface. For best results, use a minimum 2,000 PSI pressure washer. Using a 15 inch spray pattern, begin the power rinse at the lowest point on the roof and work upward, keeping the pressure washer tip within 12 inches of the EPDM surface.
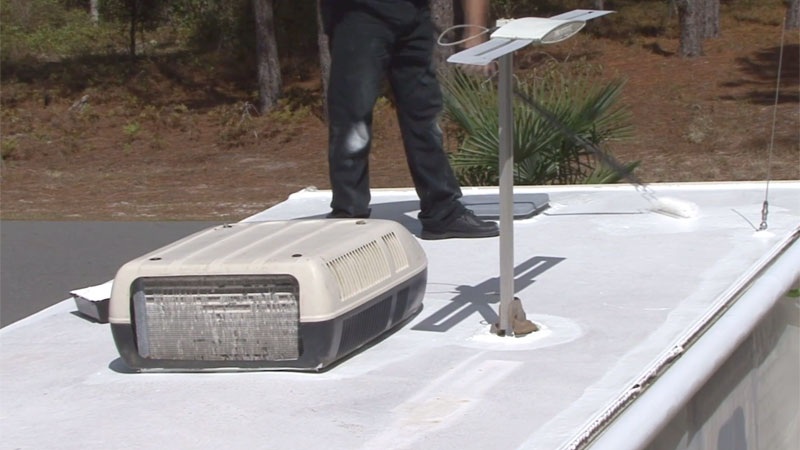
 Once the highest point on the roof is reached, work down again with the final rinse to excess any excess dirt or debris from the roof. If a power washer is unavailable, you can use a medium bristle brush, working smaller 3×3 foot areas at a time, and rinsing thoroughly to make sure the cleaner activator has been removed. The roof should be white in color, which is an indication that the surface has been chemically altered.
It’s important that all cleaner activator is completely removed from the roof prior to applying the acrylic coating. All surfaces must be clean and free of residue or loose particles, degraded substrate, grease, oil, dirt, or other contaminants. Surfaces must be completely dry and frost-free before coating.
Any sealant touch-ups should be done at least two weeks prior to the coating job. Dicor acrylic coating must be applied in a minimum of two coats at a rate of one gallon per 125 square foot per coat. Actual gallons required will depend on the type of surface and texture, method of application, and weather conditions at the time of application. Thoroughly mix the contents for a minimum of five minutes prior to application. Dicor acrylic coating can be applied by medium nap roller or brush. What works best for me is to go around all fixtures on the roof using a brush, followed by a medium nap roller with a long handle.
 Mark: Allow the first coat to dry to the touch prior to applying the second coat. After applying the second coat, you should allow for a minimum of three hours of direct sunlight prior to nightfall. It takes 24 to 48 hours for the coating to completely dry and cure. Make sure no rain or heavy dew is allowed to come in contact with your newly coated roof during this time period. When a job is finished, you can clean the equipment with water and a biodegradable detergent. That’s all there is to it. When you combine the cleaner activator with the acrylic coating, your rubber roof membrane not only looks new again, but you are extending the life of your RV roof. When you protect and maintain the RV roof, you protect the entire RV. If your RV has a different type of roofing material, take a minute to visit www.dicor.com to find a roof coating system designed specifically for your type of RV roof.
Happy camping from Mark Polk of RV Education 101