
Show 2020-12
RV Education 101’s Mark Polk finishes his 1967 Yellowstone Travel Trailer Restoration with part 4 and 5 – on Rollin’ On TV!
We were trying to figure out how to do the shower walls. We went to Lowe’s and actually found a tub surround that had a little bit of damage to it and it was marked down to, like, $15 and we had to cut that section off anyway so we’ve got a really nice surround with some built in corners. It’s gonna work really well for the shower.
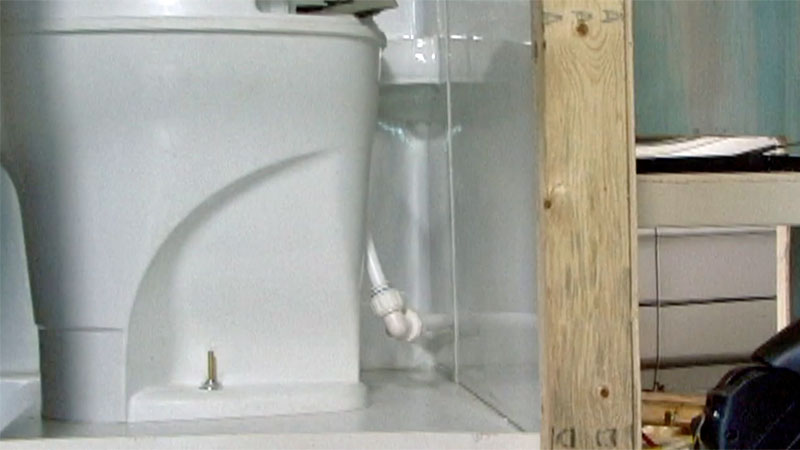
Okay, we’re getting ready to make our water connection at the toilet and all we have to do is put an elbow on the water line coming in, then we’re gonna put a piece connected to the elbow going up to our water connecter on the back of the toilet. There, and that’s all there is to it. I have to snug those fittings up but it’s ready for water.
What we thought we would do to add a little custom touch is put a couple rows of these small tiles, ceramic tiles, at the top of the shower enclosure and then above the tiles, finish it off with our vinyl flashing. Now we’re getting ready to put a row of tile, ceramic tile, in here just to give it a nice accent look.
I’m just gonna scuff it up with a piece of sandpaper so when I put my adhesive for the tile, it’ll actually have something to grab a hold of.
Okay, we decided to take our customization one step further here and we’re gonna use two sheets of our ceramic tile and use it as a backsplash behind our range-top burners

One secret to a long-lasting rubber roof is prepping the surface properly before you install it. When all of the new Dicor roofing supplies arrived, it was time to install the new rubber roof on the project trailer.
Here’s how we did it. Make sure all of the roof seams are as tight and as level as possible. All of the screw heads need to be level or slightly below the surface of the roof decking. If any of the seams are wider than 1/16 of an inch, you can apply seam tape to cover the seams and the screw heads. To avoid any sharp edges from damaging the roofing membrane, you can either bevel the edge of the roof decking using a sander or you can use fleece tape over the edges. Next, sweep and/or blow compressed air over the entire roof prior to starting on the installation.
After you measure the roof, cut the roofing membrane to fit. Be sure and allow some excess on the ends and the sides that can be trimmed later. Lay the roofing membrane over the roof and make sure the excess is evenly spaced at the front and rear and side to side. Fold the membrane in half, exposing the roof decking on one half. Apply the adhesive, using a roller attached to a handle. Carefully roll both ends of the membrane over the adhesive, trying to avoid any wrinkles. Now fold the other side back and repeat the process. Finish by sweeping out any air bubbles in the roofing membrane, starting in the middle of the roof and working towards the sides.
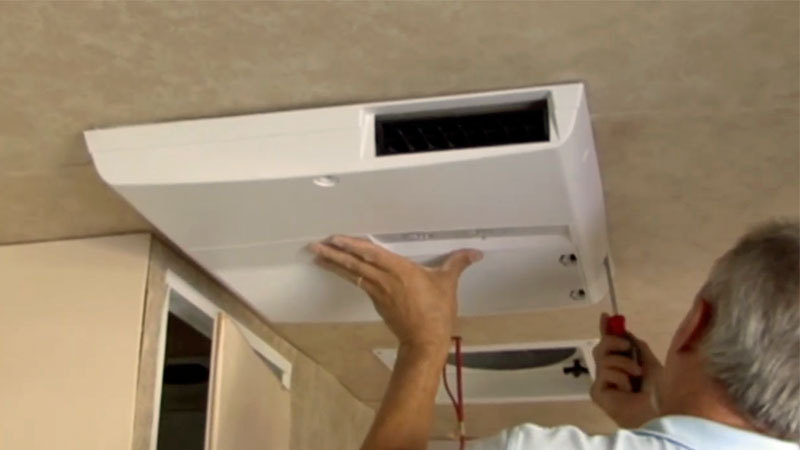
Installing a roof air conditioner is not difficult. You need to make sure and follow all the electrical codes and read all the installation instructions prior to installing the AC unit. With this air conditioner, we have enough cooling power to turn the old trailer into an igloo if we want to. After the new roof was installed, we installed the new air conditioner, the power roof vents, vent covers, the tank vent caps, and the new motorized TV antenna.
Then we moved to the interior of the trailer and we installed our overhead lights, wired the 12-volt roof vents, and installed a stereo system.
Before we can install the LP gas appliances, the cylinders, and the regulator, we need to run our LP gas lines. To do that, we ran copper tubing from the front of the trailer and branched off to our four LP gas appliances: the range and oven, the furnace, the refrigerator, and the water heater. The trailer frame already had some holes through the crossmembers that we routed the copper through and we used rubber grommets to protect the gas lines from damage. Wherever a fitting is required, we used a flaring tool to make our connections. Here’s how we did it. Whenever you flare tubing for an LP gas line, it’s extremely important that you do it properly to create a good seal.
When you cut the copper tubing, you want a nice straight cut. Then you wanna ream the cut piece of tubing to remove any burs or sharp edges. The flare needs to be smooth and free of any edges for it to seal properly. And you always wanna remember to put the fitting on before you flare the tubing.
Before we could install the three-way refrigerator and the microwave, I needed to frame the cabinet where they would be installed. When you install a refrigerator it’s important that the cabinet has zero tolerances on the sides, top, and bottom. The only place you want heat to go is behind it so the heat rises up and goes out of the top vent.
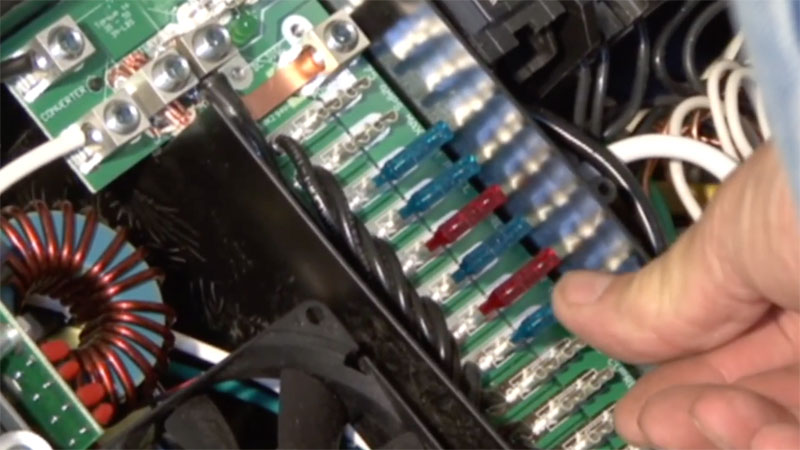
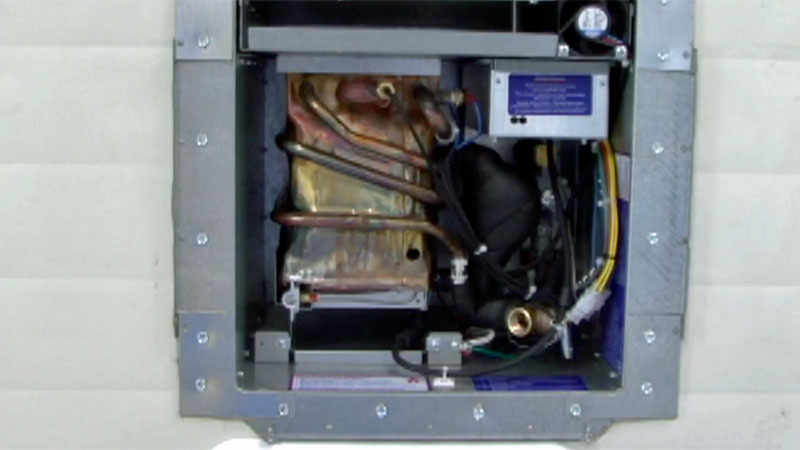
We tested all of the 12-volt and 120-volt circuits to make sure everything worked properly and it was time to install the new tankless water heater. But, to do that, I needed to install some of the lower exterior metal where the water heater would be mounted.
My original plan was to try to reuse the original exterior metal but when I purchased all of those parts from the RV dealer who was going out of business, there were several rolls of new metal included so that’s what we used. Okay, we have our water heater switch wired.
I hooked the battery up. We’re gonna check it for power. There we go. So our water heater installation is complete. I can almost see light at the end of the tunnel. Join us next time when we finish installing the exterior metal, paint the trailer, install a new 3500-pound axle with disc brakes, and finish the Yellowstone trailer restoration project.
Happy camping from Mark Polk of RV Education 101
To learn more about how to use your RV,
Happy RV Learning,
Mark Polk, your trusted source for RV education